Saturday, March 31, 2012

Tim Holtz Distress Markers

Yes they have arrived! Tim introduced these at CHA--markers to match all 36 of his Distress inks!
But the #1 question I'm hearing in the store is...."O.K. that's cool but what can I do with them?"

Well here's just one technique that I think makes these markers really fun.
I like this technique best on stamps that have a good amount of solid area like this one from Hero Arts.

Love these three colors together: Peeled Paint, Spiced Marmalade and Dusty Concord.
The markers have a brush tip end and a regular "writing" end. 
The bonus here is that Distress markers react with water, exactly like the stamp pads do.


You'll need a mister filled with plain water. 
Using the brush end of the markers, I just colored areas randomly. 
Don't worry if your brush goes over a darker area, the colors will not contaminate -- just scribble a bit on a piece of paper and it will clean right off. 
This is what it will look like:

Ready for the magic??
I'm hoping these pictures give you a good representation of what happens--you can click on them to see it larger if that helps.

First, I just colored like above and just stamped like you would normally. 
This is what you get and it's pretty right?

But here's what happens when I color the stamp the same way but mist it with water. In this example, I literally misted from about a foot away from the stamp and just a couple tiny squirts---see how the ink is loosening up?

But here it is again, and this time I hit it with some serious water--much closer to the stamp and several squirts this time. The watercolor effect here is amazing--this time the colors really bleed into each other.
So there is one technique you can try with these new markers--give it a try--you'll feel like an artist!
Wednesday, March 28, 2012

Favorite things

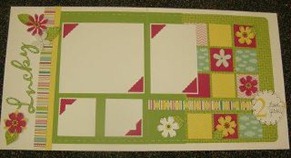
Time for favorite things again! It's Lucky 8 punches this time--if you haven't seen these in action, here is a teaser....


Just look at our great selection of these! And we even have one open for you to play with--stop in any time and try it.


Photobucket

Friday, March 23, 2012

Embedded Embossing Tutorial

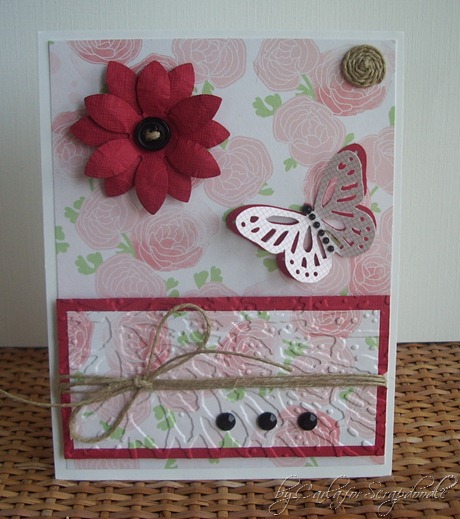
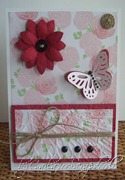
I wanted to share with you a card I made as a sample for the store.  It has a bit of Embedded Embossing on it and I wanted share how its done.  Its so easy and add so much.

Embedded Embossing, Neopolitan Papers, Monarch Punch, 6 Petal Flower Punch, Scrapadoodle, Carla's Scraps (2)

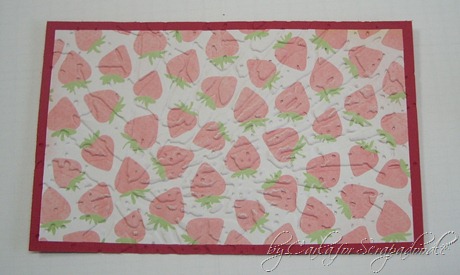
Doesn't it look cool?  First decide the decorative paper and cardstock you want to use and then cut your layers to size.  My red cardstock is about a 1/4 of an inch bigger than the decorative paper all the way around. 

With just a touch of double sided adhesive in all four corners adhere the two pieces together.  Line up your layered paper in your embossing folder and run it thru the Big Shot

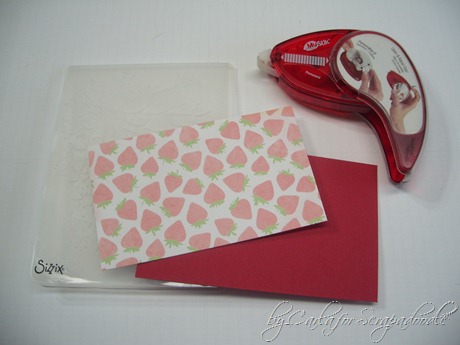
Here's an Embedded Embossing picture tutorial…

Embedded Embossing, Neopolitan Papers, THoltz Cracked Embossing Folder, Scrapadoodle, Carla (1)

  • I've cut my red cardstock and decorative paper to the size I need for another card.

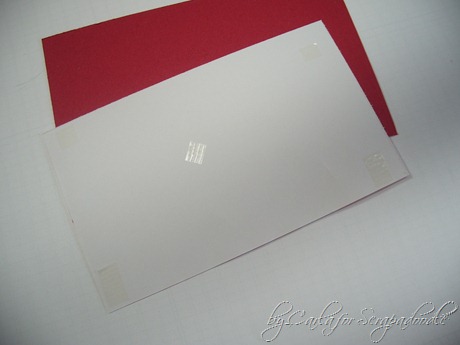
Embedded Embossing, Neopolitan Papers, THoltz Cracked Embossing Folder, Scrapadoodle, Carla (4)

  • With just a touch of double sided adhesive in each corner, see photo above… you don't want much adhesive as the papers will shrink just a tad when you emboss.
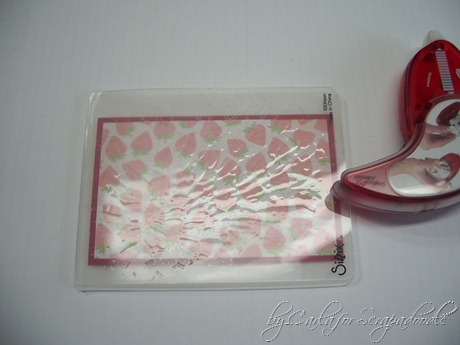
  • You also want an embossing folder where the design is closely spaced together, not like polka dots or something where the design is spread to far apart.  It's the closeness of the design and the embossing that holds the layers together.

Embedded Embossing, Neopolitan Papers, THoltz Cracked Embossing Folder, Scrapadoodle, Carla (3)

  • Line up your piece inside your embossing folder and run it thru your Big Shot.

Embedded Embossing, Neopolitan Papers, THoltz Cracked Embossing Folder, Scrapadoodle, Carla (2)

  • Now decorate away… its so fun and adds a bit of variety to your cards and layouts.  I hope you enjoy Embedded Embossing as much as I do.Embedded Embossing, Neopolitan Papers, Monarch Punch, 6 Petal Flower Punch, Scrapadoodle, Carla's Scraps (2)

Supplies for todays card…                       
     Neopolitan Papers
     Red Cardstock
     Tim Holtz, Cracked Embossing Folder
     Martha Stewart Monarch Butterfly Punch
     Paper Shapers Daisy Punch (purplish blue)
     Misc Black Buttons and Black Gems
     Twine

Be sure to leave us a comment and let us know how were doing with the blog.  Be sure to give us your blog link too!!!  We'd love to visit and feature you on our blog.Come Visit the Doodlecrew Post Divider copy

Newsworthy Notes:  The April Class Calendar is ready and printable.  See the sidebar to click and print.

Monday, March 19, 2012

Heat Embossing

Just wanted to share one of my favorite techniques here, hope you'll be inspired to create a layout for Easter!
I started with this pretty Easter basket stamp:

I inked it up with Versamark clear embossing ink and stamped it on my tag (leaving a portion of the image off the edge).
Then I poured clear embossing powder over the image, tapped off the excess and heated it with my heat gun.
Next up is Tim Holtz Distress ink. The color here is Scattered Straw and it is just blended over the top in circular motions. The embossed image resists the ink and you get this:

Here is the finished page with the tag as an embellishment. You could even write a bit of journaling right on the tag. Hope you'll give it a try!
Photobucket

Thursday, March 15, 2012

New Coloring Guide

This week we received the Level 2 Book for Coloring with Copics. I know how many of you loved the first book and will be even more excited about this one. It comes with a CD too which is nice for visual learners!
The focus here is on nature images:

Photobucket

Wednesday, March 14, 2012

Memory Box Spring Cards Class

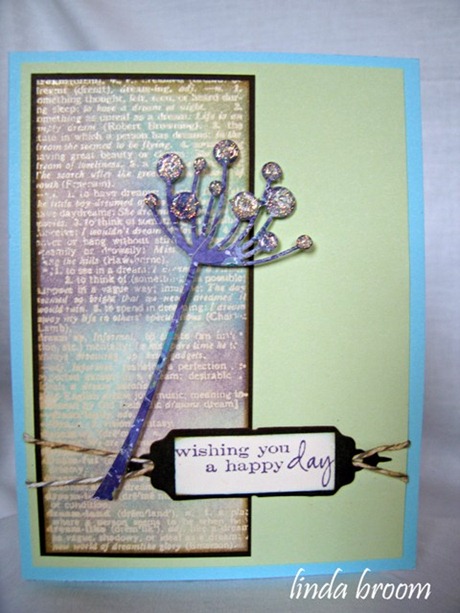
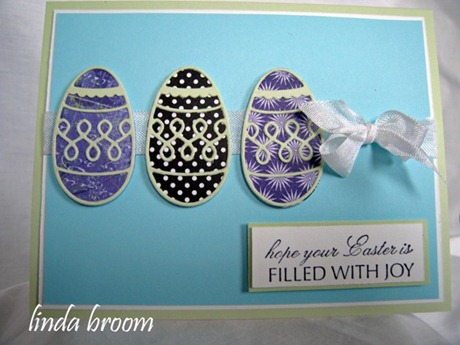
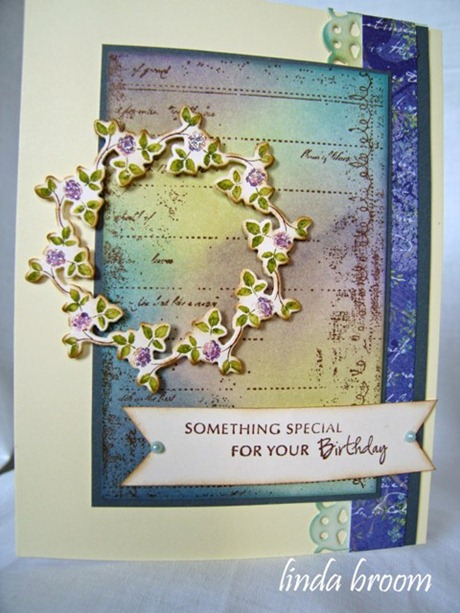
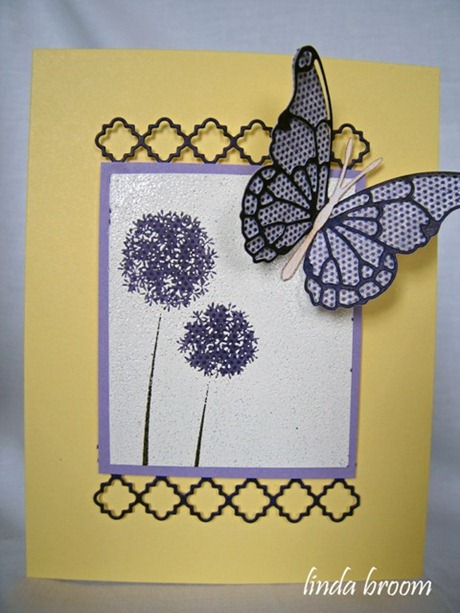
Join Linda Broom from the Memory Box Design Team for this class featuring all new stamps, dies, and papers from Memory Box.  All of the cards will have a spring theme and feature the new solid papers that have just been released; Slate, Sky, and Aloe!  They’re beautiful.

Please bring:  trimmer, scissors, tape runner, and non-stick craft sheet. 

Optional supplies:  Linda will have plenty to share, but if you want to bring your own Distress Inks, we’ll be using Brushed Corduroy, Dusty Concord, Tumbled Glass, Broken China, Shabby Shutters, and Bundled Sage.

You'll create these 4 beautiful cards!

Chloe Stem PeoriaFiligree Egg PeoriaMercer Rose Wreath PeoriaReverse Allium Peoria

Date:  Saturday March 24
Time:  1 – 3:30
Call 691-5152 to sign up today.

Come Visit the Doodlecrew Post Divider copy

Sunday, March 11, 2012

Ribbon Rose Tutorial

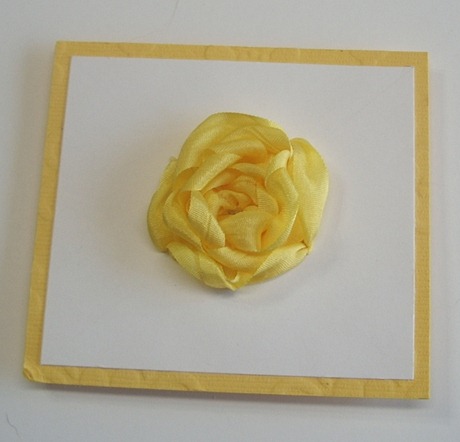
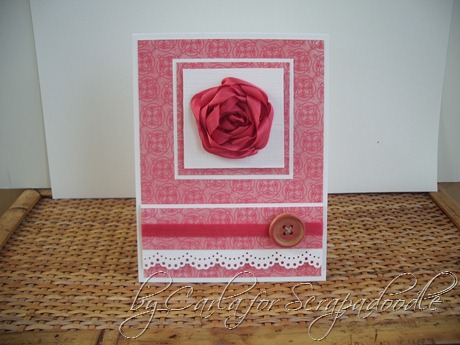
We had a good turn out for the Ribbon Rose Demo, Saturday.  I hope everyone enjoyed it.  Here's a pic of one of the Ribbon Roses I demo'd.

Carla's Ribbon Rose Tutorial, Scrapadoodle (29)

Tutorial Link:  Step by Step Ribbon Rose Tutorial w/Carla

Here's the card I made if you'd like a copy…Ribbon Rose, MS Lace Border Punch, Dear Lizzy, Scrapadoodle Sample, Carla's Scraps (1)

Enjoy and if you have any questions, email me.  Hugs, Carla

Come Visit the Doodlecrew Post Divider copy

Thursday, March 8, 2012

March Retreat Date Change…

The March Retreat date has changed from March 17 and 18th to March 31st and April 1st.  So many said you had plans on St Patrick's Day and we wanted you to be able to do both.

Cost:  $40
Saturday:  March 31, 10am to 8pm
Sunday:  April 1, Noon to 6pm
With lots of food, fun, refreshments and of course Carrie's awesome layout…March Retreat Layout

Come on in and sign up or call the Doodlecrew at 691-5152!!!

Wednesday, March 7, 2012

Ribbon Rose Demo

Coming this Saturday, March 10th, I'll be showing how to make the Ribbon Rose.  Stop in between 2pm and 4pm to learn how.  Its easy, fast and gorgeous!  It truly is error proof.

Ribbon Rose, MS Lace Border Punch, Dear Lizzy, Scrapadoodle Sample, Carla's Scraps (2)

If you are unable to come to the demo, a Step by Step Ribbon Rose Tutorial will be posted on the Scrapadoodle Blog the Monday after.


Come Visit the Doodlecrew Post Divider copy

Tuesday, March 6, 2012

March Vintaj class

Last month we did necklaces, now we need a bracelet to match right?
So Vintaj class is back where we combine jewelry making and embossing on our Sizzix Big Shot, to create this:

Isn't it beautiful? Join us Thursday, March 22nd from 6-8 to learn the technique. Class fee is $25.

Photobucket
2leep.com